
Why should you block your crochet, and how do you do it?
Blocking your crochet might sound a little intimidating, but it's a lot easier than you think! The difference between before and after blocking can be huge, and if you ask me, it's absolutely worth doing.
In this blog I'll show you how I block my crochet. I'll tell you what blocking is, why it's worth it, what you need and which mistakes you'd better avoid.
What is blocking?
Blocking is the process where you get your crochet wet (basically giving it a wash), then shape it and let it dry.
This relaxes the fibers of your yarn, which makes your stitches look so much nicer.
Reasons to block your crochet:
Besides making your work look prettier and your stitches more even, there are a few more reasons to block your crochet:
-
Curling edges lie flatter.
-
Your crochet gets softer and has a nicer drape.
-
Lace patterns open up beautifully.
-
You can get your piece to the right size and shape, and often even make it grow quite a bit
-
Separate pieces, like granny squares, end up the same size
Got separate pieces you're going to join? Block them before you put them together. You'll get a neater finish and less bulk in your seams.
Do you have to block all your crochet?
First of all: you never have to do anything. If you love your work without blocking, just leave it as it is! Also, blocking doesn't do much for some projects, like tightly crocheted amigurumi.
I'd especially recommend blocking projects you wear or projects that hang, like garments, scarves and blankets.
Blocking different materials
Keep in mind that your blocking results depend on the material you're working with. You might also want to block different materials in different ways.
-
Wool, merino and alpaca respond the very best. Animal fibers give a little and then hold their shape beautifully.
-
Cotton relaxes too and drapes more softly after blocking.
-
Acrylic responds less. Washing it and letting it dry flat helps a bit, but really shaping it is harder.
What do you need to block?
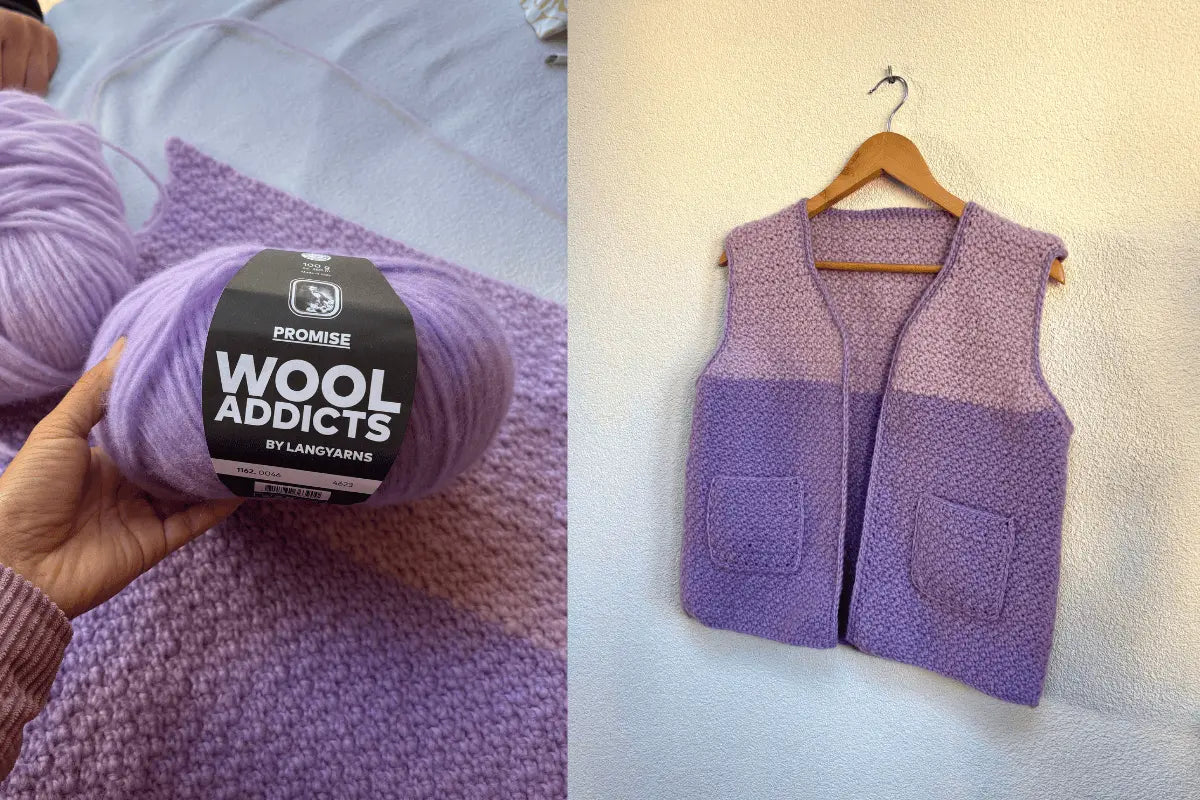
I'm using my Nora Bodywarmer as an example. It's made of wool, so remember that these blocking instructions are for wool. If your project is made with a different material, the steps might be different.
Any questions about this? Email me at help@yupastudio.com!
Supplies:
-
One or two towels (the bigger your project, the more towels)
-
Wool wash. I use one you don't have to rinse out (leave-in).
-
Your crochet piece
-
A sink or a tub
-
Optional: a blocking mat and blocking pins
How to block crochet in 8 steps
1. Use lukewarm water
Since I'm working with wool, I use lukewarm water. Water that's too warm can felt your wool, and you really don't want that.
I fill the sink just enough that my whole project fits under the water easily.
2. Add wool wash
A tiny bit is enough. I use a leave-in wash, so I don't have to do a lot of rinsing. I swish it around with my hand so it's spread well through the water.
3. Gently put your crochet in
Push your piece under the water slowly. That slow part matters, because it keeps the fabric from stretching too much.
Make sure you don't rub, scrub or wring the fabric! That can stretch or felt your crochet.
Make sure your whole project is under water and you can't see any more air bubbles.
4. Let it soak
Wait until the water has cooled down, or about 15 to 20 minutes. By then the fibers are completely soaked and you'll get the result you're after.
I've read on some blogs that you shouldn't soak too long either, because that's not great for your project. I don't have any experience with that myself, but for me 20 minutes is always enough to get the result I want.
5. Take it out very carefully
Don't lift your piece out while it's dripping wet, because it'll stretch. Drain the water first, then gently press out the last of it. The more water you get out now, the better.
6. Grab a towel
Now your towel gets to shine.
-
Bunch your crochet together as compactly as you can.
-
Spread it out on the towel.
-
Roll up the towel.
-
To get the last bit of water out, you can stand on the rolled-up towel. 😄
Mine still had quite a bit of water in it, so I did it all over again with a second towel.
7. Lay it out to dry and shape it
Lift up the rolled towel and carry it to wherever you're going to dry your piece. I like to do it outside, because it dries faster.
Watch out for direct sunlight. It can fade your work, and with hand-dyed wool that's especially tricky. Is the sun really strong? Put it in the shade so the UV rays don't damage your piece.
Now shape your crochet the way you want it. A blocking mat and pins can help, but you don't really need them. Shaping your piece on a towel works too!
Important! Never hang your crochet up to dry. The weight of the water pulls it out of shape.
8. Flip it over
A few hours later, the top of mine already felt dry. I'm in Barcelona, where it's about 23°C (73°F) on average.
Once the top was dry, I carefully flipped my Nora over so the other side could dry too. Be careful here, because the water that's still in it makes your garment heavy, so you can still stretch it out of shape.
Is the towel wet? Swap it for a dry one.
After flipping it, I left it for one more full day, and the next morning my Nora Bodywarmer was completely dry and ready to wear. 🥰
What are the different ways to block?
What I described above is wet blocking: you fully submerge your work. But there are other ways to block too:
|
Method |
How it works |
Good for |
|
Wet blocking |
Submerge your crochet, press out the water with a towel, let it dry in shape |
Garments, blankets, anything wool |
|
Spray blocking |
Pin your crochet down and wet it with a spray bottle |
Small pieces, granny squares, lace |
|
Steam blocking |
Steam above your work, with a damp cloth in between |
Natural yarns, when you want to work fast |
When steaming, the iron should never touch your work. And don't use steam on acrylic, because it melts.
Common mistakes when blocking crochet
-
Water that's too hot. It can make wool felt or shrink.
-
Wringing or scrubbing. Your crochet stretches out or felts.
-
Using fabric softener. Fabric softener coats the wool fibers, and that's not good for wool. Use wool wash instead.
-
Using vinegar. It damages the lanolin in wool.
-
Drying your work in full sun. It can cause fading.
-
Hanging it up. Always dry flat!
Frequently asked questions about blocking crochet
Do you have to block crochet?
Like I said above, you don't have to do anything. But if you've spent hours and hours on a garment, it's definitely worth giving it that finishing touch. If you ask me, it really pays off.
Can you block crochet without blocking pins?
Yes, absolutely! In fact, I often skip them myself because I'm lazy. Just lay your work out in the right shape on a towel. Pins and a blocking mat are handy because they make shaping easier and probably a bit more precise, but you'll get the result you want without them too.
Can you block acrylic?
Sure! In general it responds a bit less than wool, but you can definitely do it and it can still make a clear difference.
How long does it take for crochet to dry?
That depends on your project and the weather. My bodywarmer was dry after a day and a night. The more water you get out with the towel, the faster it goes. If you want to do it right, plan for a few days to be safe.
Can crochet shrink or felt while blocking?
Yes, it can happen with wool if the water is too warm or if you rub or wring it. So always use lukewarm water for wool and be gentle.
Ready to block your first project?
Blocking might feel like an extra step you just can't be bothered with (I get it, I skipped it for years too). But it makes such a difference to the end result that you won't want to go without it ever again.
Want to crochet a bodywarmer like this yourself? Check out the Nora Bodywarmer.
I'm curious, do you block your crochet? Got questions, tips or anything to add? Email us at help@yupastudio.com. 😊
Happy crocheting!
P.S. Follow me on Instagram for daily crochet inspiration :)